Binary Clock
Overview
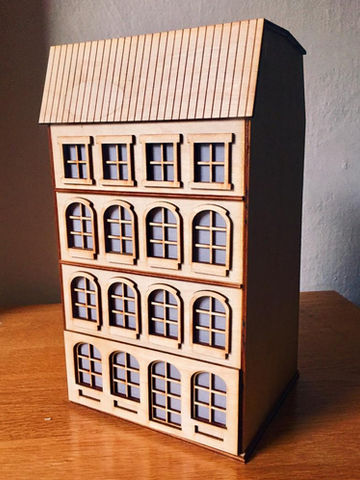
When I first got to MIT, I wanted to learn how to use machines and develop my maker skills. I really needed a clock in my room but I also wanted it to look "cool" (because who doesn't want their dorm room to look amazing). After some late-night browsing, I found out that there are so many different ways to display time and one of the most striking for me was using binary to show time and this is how my little wooden binary clock house was born.
Building the Clock
This project pushed me to learn new tools fast. I picked up Arduino programming, used Adobe Illustrator to design the house, and laser-cut the parts with an Epilog Zing 24. I wired LEDs to display the time in binary and used waxed paper as “window glass” to diffuse the light (a very broke-college-student hack, but it worked perfectly). To bring it all together, I modified code to display the time in binary, soldered the circuit, and assembled everything into a working clock.
Learnings
At first, I rushed into cutting parts without much planning and wasted time fixing mistakes. Eventually, I slowed down, sketched everything carefully, and realized that planning saves hours of rework. By the end, every piece fit together seamlessly. More than anything, this project taught me patience, learning three new tools at once while balancing coursework was a challenge, but also incredibly rewarding.
Looking back, this little dorm-room clock wasn’t just about telling time—it was an exercise in problem-solving, design trade-offs, and learning how to bring an idea from sketch to working prototype.
Next Steps
The Arduino loses about a minute each day, so I plan to add a real-time clock module (DS3231) for accuracy. I’d also replace the batteries with a wall plug to make it more sustainable (and less expensive in the long run).
Sketches done in
Adobe Illustrator:


