Wall-Mounted Bar
Overview

The summer of 2020 (during Covid) was unlike any other. Restaurants were closed, the world was indoors, and I suddenly had extra time. A year earlier, I had successfully applied for a grant to build a maker space for my coed fraternity, after a detailed document explaining why we needed this, the machines and tools we wanted to buy, and how we would make sure to keep everyone safe. With the tools finally in place, I decided to take on a new challenge: building my own wall-mounted bar.


Design and Planning
The first step was sketching and thinking through the details: how much weight the bar needed to hold, bottle and glass heights, stresses the beams would have to endure, shelf dimensions, and how to anchor it securely to the wall. I even did some quick back-of-the-envelope calculations on cantilever beams and shear/moment diagrams to figure out the right wood thickness. Once I had a plan, I hauled wood and tools back from Home Depot (worst part: taking a bus and walking back home carrying all of this alone because Ubers were not working due to the pandemic) and got to work.
Building and Assembly
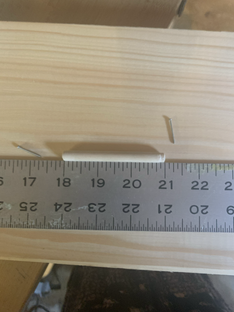
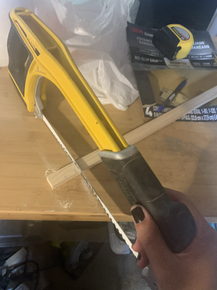
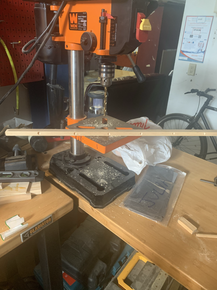
I cut the pieces to size, drilled precise holes for the support rods, and then started assembly. That’s when I learned how critical it is to plan the order of assembly: I had to unscrew and redo sections more than once. I experimented with screws, nails, and glue, figuring out which worked best for strength and finish.
Finishing Touches
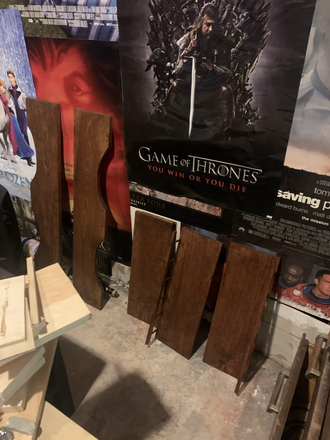
Painting turned out to be an entire learning curve of its own. I discovered the importance of sanding, priming, and applying stain evenly (timing really matters to keep the tones consistent). I finished it off with a protective gloss layer to make the wood resistant to humidity and spills. Patience was key here—waiting for coats to dry properly made all the difference.
Add Lights and Drink Up!
This project was more than just a piece of furniture. It taught me how to balance structure with aesthetics, how planning can save hours of rework, and how to keep pushing through trial and error until things come together. By the end, I didn’t just have a functional barm, I had a reminder that with creativity, persistence, and good design thinking, you can build something that makes life a little brighter.


